Pages

\
Showing posts with label Crafting. Show all posts

Tuesday, December 14, 2010

Adorable Rosette Headband: $0


And what could be better than cute and free?
So, if you are like me, and your gift list falls somewhere shy of being checked off, follow me this week as I post some seriously easy, fast and CHEAP Christmas gifts that you can make. By easy and cheap, I mean that you can find most of the supplies needed either in your stash or at the $ store...again, I'm a classy girl, I shop at the $ store and everything!

For the rolled rosette headbands, you will need two long strips of fabric, honestly, it doesn't matter how wide but I'd eyeball about an inch and 1/2. The length really depends on how big you want your rosette. Also, if you find that your flower isn't big enough, you can just add another strip of fabric to it.

Use your trusty hot glue gun buddy friend to tuck the edges of the fabric under like so on both sides:

Now take your little strip and start twisting into a swirly, gluing as you go. Just make sure you don't get glue on the top of your flower, as lovely as that would look! Again, no rhyme or reason to this...great thing to do while you watch that reality show on T.V. that you feel guilty about but can't tear your eyes away from.
Here is my finished rosette from the front:


And the back:
Now what 'cha wanna do is take a strip of elastic long enough to fit around your head and dye it in tea. By this I mean to literally place your elastic in hot (uber strong) tea and steep it until it reaches the desired color...just not so snowy white, as much as we love snow. Don't use coffee for this step...consider yourself warned that if you do, you will walk around all day smelling like a Starbucks barista.
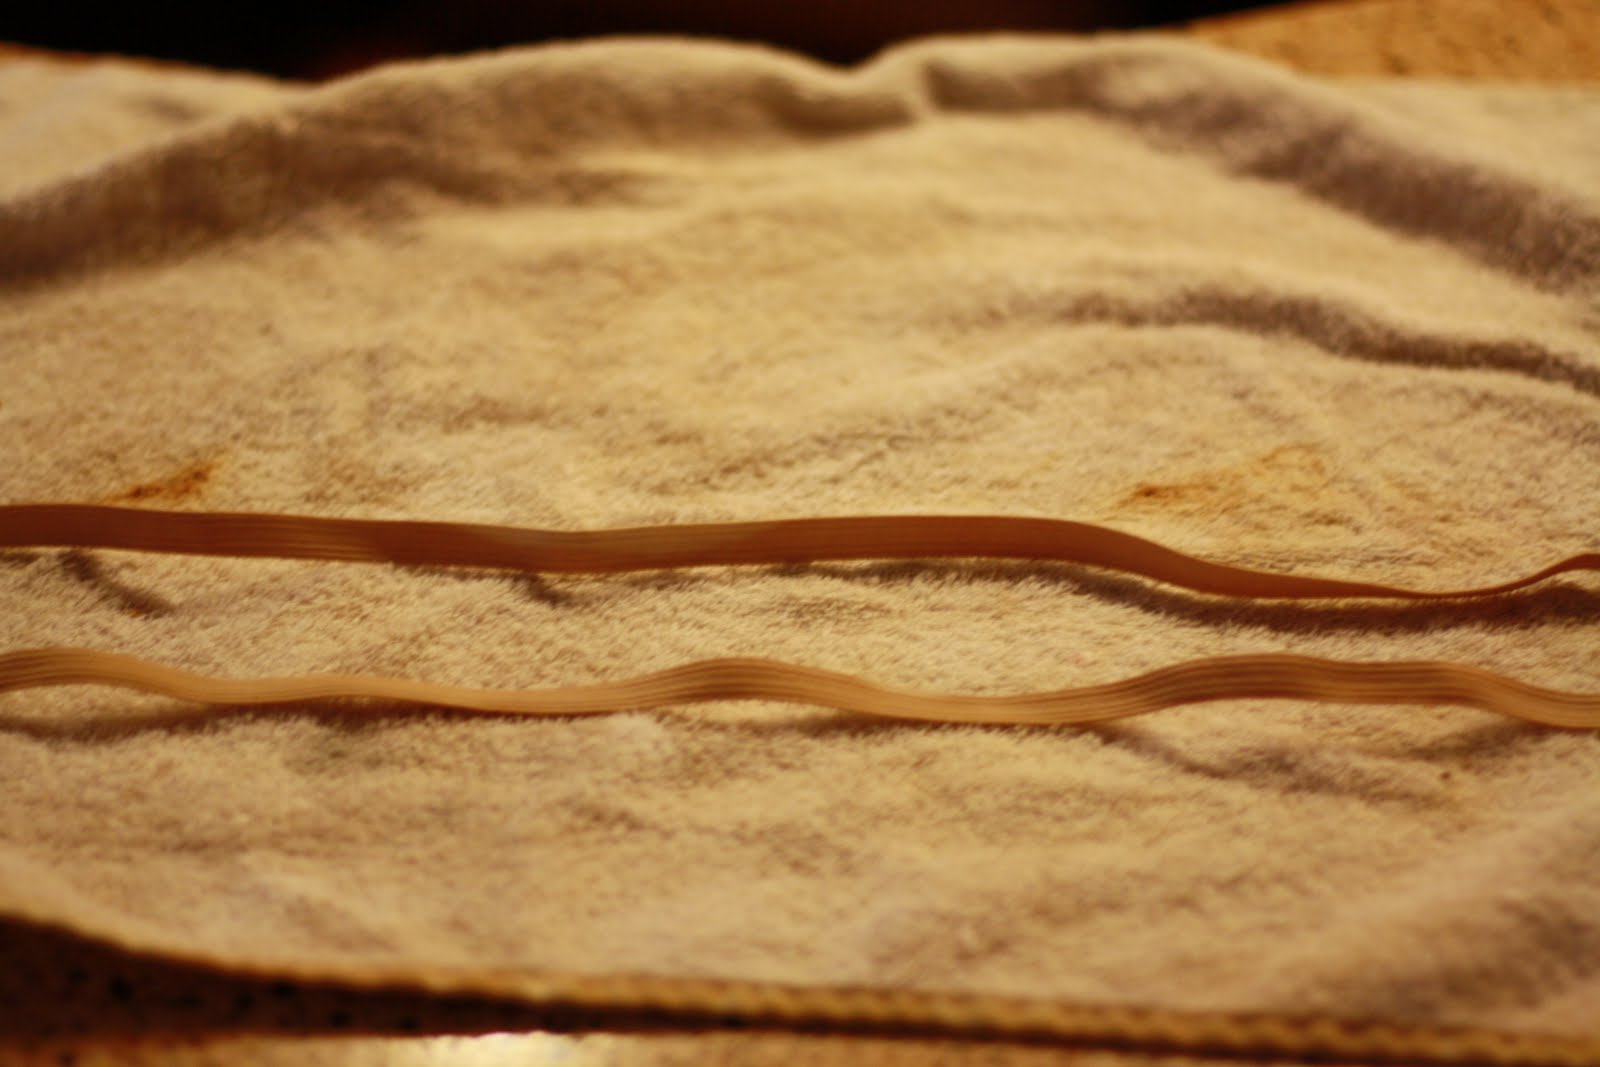
Sew together the ends of your elastic and hot glue (here's my best friend again...thanks for the burns today!) the rosettes over the seam. On the underbellies of the flowers, hot glue a piece of fabric to secure rosettes to band and more importantly, to cover your hot gluey mess on the bottom :).
Alrighty folks, that's really all there is to it! Under 30 minutes? For sure. Can be made for cheap or fffrrreeee? Check and check. Perfect last minute gift? I certainly think so!

I added some cute "hair candy" tags to mine and dolled them all up in some lovely sacks which I will share later with some other wrapping ideas.

So, funny excerpt from my day, I got dressed this morning in a plaid flannel button up with a sweater over it {see above photos}. I was lovin' on the combo, it just looked so cozy...and the flannel is my absolute favorite!!! Seriously...I could (and may have) sleep/slept in the thing. So, I put on said cute outfit and take a peek in the mirror and staring back at me are the button snaps on the front pockets of my flannel through my sweater in the perfect "headlight" location as my sis would say. I couldn't, however sacrifice my look for something without apparent high beams, so I just added a blazer...which I wore all.day.long. Thank you cold Florida winter, for once you saved my outfit by making it possible to don a coat all day.
Word to the wise: Shirts with front pockets are hard to pair with sweaters.
Happy crafting guys!


Linking to:
Make it Yours @ My Backyard Eden
Show and tell at Blue Cricket Design

Wednesday, December 8, 2010

Something New and Crafting Too

So...someone drank a little too much Seus juice this afternoon...or coffee, either one.


This is me modeling my newest addiction find...the jegging. For those of you who are laughing in your chairs because I just now jumped on the bandwagon and got a pair, I probably deserve it but be nice. After the old exam today I decided to treat myself to a shopping spree at Wal Mart (classy right?). Well, not really, I actually just stopped by to get some crafting supplies to make some goodies that I will share with you in a minute AAANNDD I got a little distracted in the clothes department (Yes, I sometimes buy clothes at Wally World...don't hate!). I got these little beauties for a whopping 9 (NINE) buckaroos! Go me. As you can see, they are one pair of comfortable, stretchable, adorable goodness. I might just wear them every day this week, I'm so in love. SHHH, don't tell anyone I said that! Anywayses, you should all go out and buy a pair. Seriously, they sell these everywhere, so go get some...you can thank me later.

Now, on to the crafting part. I finished all the gifts for the minis in the family. I made them hot cocoa and s'mores kits. I also made this reindeer rootbeer for the nuggets I nanny for. I just used nanny as a verb.

These are so easy, they don't even deserve a tutorial. I can't remember where I saw these the first time, but if it was you, you're awesome and let me know so I can give due credit. For mine I used pipe cleaners wrapped around the bottle cap for antlers, google eyes, and red felt cut into circles. Just hot glue your goodies onto the bottles and voila, reindeer rootbeer!

For my next act, I made the s'mores kits. SUPER easy to put together. I bagged up some graham crackers and marshmallows in zip top baggies and typed out labels for each in Microsoft Word. Print, trim to fit, fold, and staple to the top of your baggies. Then I just dolled them up in a Chinese takeout container from Wal Mart one stop shop right? with tissue paper, hot cocoa packets and mini Hersheys and added directions for s'mores indoors.

I wanted my packages to be color coordinated, so I used blue and red labels with the container, tissue combo. Also, Swiss Miss cocoa has the perfect shade of blue on their hot chocolate packets!

Instructions for s'mores indoors:
Preheat oven to 400 degrees. Lay graham crackers on a baking sheet and top with chocolate. Place a marshmallow on each cracker and bake for 3-5 minutes, until puffy and golden brown. Smoosh another graham cracker on top and enjoy while warm!

Poem on the marshmallow bag (cuz it's my favorite Christmas poem ever):
I've heard that you've been naughty, so listen, here's the scoop. I'm running low on coal this year, so you get snowman poop.
-Santa


So, there you have it, three more things on your to-do list. I promise, the crafts don't take much time and are mega adorable in person...so make them for some kiddos (or big kiddos) in your life!
By the way, did you know spell check does not recognize the word s'more? What's with that?

Tuesday, November 30, 2010

Christmas Gift Set for Under $10

Who couldn't use a little office frosting to jazz up their home or work office? I created this cute gift set for my cousin, whose name I drew for our annual Christmas Eve party and gift exchange. I certainly didn't invent the wheel, I just came up with my own methods for doing things as I went along, so I'll try to walk you through with a little tutorial.

First off, before today, I was a Mod Podge virgin. Gasp! Last year, I used spray adhesive to make notebooks, and let me tell you, there is NO comparison. Now, I am looking on facebook for a Mod Podge anonymous group. Anyone? This stuff is AZMAZING! Can't believe it took me this long to discover it!

Hi, my name is Ramsey and I am a Mod Podgeaholic.

The total office kit comes with
  • a clipboard
  • a notebook
  • two picture frames (she has two kids, you could definately do just one)
  • a set of blank notecards
    You will need:
  • Scrapbook paper in coordinating colors and patterns
  • 1 composition book
  • 2 woodenpicture frames ($1 at the craft store)
  • 1 clip board
  • Mod Podge
  • Cardstock
  • Ribbon
  • Felt
Let's get goint with the clipboard first.

For this I used 2 coordinating pieces of scrapbook paper. I simply traced the outline of the clipboard onto the paper and mod podged (is that a verb now?) it onto the board. TIP: make sure to cover the entire surface with mod podge to avoid bubles (foam brushes work great for this). Once I had my two pieces glued the way I wanted, I added a monogram. I printed the letter "C" backwards using Microsoft office word and traced it onto scrapbook paper, cut it out and stuck it on. If you have a cricut, you could definately use it here. (And send one my way please! I am stuck in the stone ages of crafting...I don't even have an exacto yet...pity me!) Finally, add a few layers of mod podge on top.


For the frames, I stained the edges of mine, but you could paint them with acrylic paint or leave them plain if you wish. The paint/stain job needn't be perfect, it will all get covered up! Next, you are going to cut out a rough tracing of your frame...again with the perfect thing, not necessary. Mod Podge that bad boy on there. Once dry, take a nail file and file off the rough edges at a 45 degree angle (approximately). Now, Mod Podge a few more layers on to secure it. Place a cute photo inside!

To add ribbon, simply cut to the length of your choice, I chose long so I could tie it at the top. Stick it to the back of your frame with m p and mod podge a piece of felt to the back to cover the ugliness and save your walls.

The note book works basically the same way as the clipboard. Just trace, cut, paste, and file the edges. You can arrange the paper any way you choose. I didn't add the mod podge top layer to this because I didn't want it to be tacky. I also lined the inside front and back covers to give it a more finished look.


These notecards couldn't be simpler. I just created them in Microsoft office word with word art. Orient the paper horizantilly (landscape) and you will fit two to a sheet to be cut apart. Place your design at the bottom center of each side. I suggest a light colored line down the middle as a guide for cutting. Fold in half with a bone folder if you are Martha or a Crayola marker if you are me...hey, it worked perfectly. You want a nice, clean fold.Just pair with some envelopes for a personal touch that keeps on giving!

Here we are all packaged up and ready to wrap in a pretty box!

I hope you try this! It is really cute and SO easy...tedious, a little, but super easy! If I did a bad job explaining anything, let me know and I will clarify. I'm admittedly not the best at picture tutorials. (and in my defense, I was working at night by nasty florescent light)
Here is my cost breakdown:
Composition book-$1
Clipboard-$1.50
Paper-$2 (You could definately just use what you have on hand)
Paint (use what you've got)
Picture frames-$2
Ribbon-$2 (again, use or reuse whatever you have)
Felt $1
I used some cardstock that I already had. It's $5 a package from Wally World and I use it for EVERYTHING!
The total project for me cost about $9. Perfect, cute, inexpensive, functional, my kind of Christmas gift!
Let me know if you give this a go...there's the Dr. Seus in me coming out....I'd love to see the finished product!
Happy giftmaking!
Ramsey
Linking up here:


Make it Yours @ My Backyard Eden
Blue Cricket Design
Someday Crafts

Tuesday, April 6, 2010

Recycle:Napkin Rings


So I got to work on some of my baby shower crafts yesterday (YAY!) and I finished these cute napkin rings. They did take a little long, BUT an extra pair of hands would have made it go a lot faster! I will definately post all of the projects and pictures after the shower, but I wanted to post some tutorials as I go, so here we are.

Paper Towel Rolls (Yay for recycling!)

Scrapbook paper

Twine (remember the $1 twine, it's back!)

Labels for your napkin rings


Cut your paper towel rolls (minus the paper towels) into pieces (about 10 or so per roll) and cover them with scrapbook paper using your trusty hot glue gun. Punch two holes near the top of the ring as shown that you will match up with holes in the label. I made my labels in microsoft word by inserting a circle shape and changing the outline to the thickest width and polkadots. Then I inserted a word box into the circle and used the font pupcat to type food words (Delish, Grub, Eat, Enjoy, Nibble, Bite, Chow, Yum, etc.). I just printed these, cut them out and punched two holes in the top to match up to the holes in your PT rolls. Now tie a nice little twine bow through both and you have a cute little shabby chic napkin ring to display at your next party.

Just make sure if you are doing like 30 of these to GET SOMEONE TO HELP!


Have a wonderful Tuesday!

Ramsey
Linking to:


DIY Day @ ASPTL

Monday, April 5, 2010

Dollar Store Love! Bunting

A little lace makes everything better. Don't you just love the look of shabby chic, especially for SPRING!?!?

This cute bunting came together with nothing more than 5 minutes, a glue gun, a pack of $ Tree doilies, and a roll of twine. I got some twine at $ General (my other favorite store...I know I sound really cheap right now) for $1 and it has lasted FOREVER! Cut the twine to the length you want for your bunting and adjust the number of doilies accordingly. Now fold the doilies over the twine, hot gluing the doily to the twine as you go. Use a little glue around the edges of the doily...you will burn your fingers...sorry, thats just the way it is...use a low-temp gun. THAT'S IT! Go hang your doily in your little girl's room, across a doorway, or outside on an old horse trough like mine!

AAAAHHH...I love projects that take little time investment!


Hope your Easter was filled with SUNSHINE, WORSHIP, FAMILY and, OF COURSE, CHOCOLATE!!!


He wishes you a Happy Monday!


Actually he's just saying..."Dude, where's the leftover ham???" But we'll pretend he's wishing you a happy Monday.

Lots of love,

Ramsey

Linking to:

Making the World Cuter Monday

The DIY Show Off


Friday, April 2, 2010

$ Store + Easter = LOVE

Don't you just love the Dollar Store??? They always have the greatest selection of STUFF for holidays and Easter is no exception. Look at this cute bucket I pulled together with some chalk eggs and candy (all for $3!).


Here is a little scalloped table runner that would be perfect for Easter!
$ Tree has plastic table cloths in every color. Sorry the pictures aren't very good, but the concept is super simple, so here we go!

Take you table cloth out of the plastic wrapping but only unfold it longways (DO NOT UNFOLD ALL THE WAY, THIS IS KEY!) Keep the two ends together. Use a cup or some other round object and a pencil to mark your scallops. Cut with scisors and either keep the cloth folded up to use as a table runner like I am doing or unfold it all the way for a table cloth. Simple but CUTE!


And lastly, because he looked so cute:


TTYL and have a VERY happy weekend!

Lots of love and best bunny wishes!

Ramsey

Linking To:

Fingerprints on the Fridge Feature Yourself Friday

Remodelaholics Anonymous